How To Install Lights On A Ceiling
Lighting Changes Everything...

When it comes time to upgrade or change out your ceiling lights, the transformation can be a stunning addition to any room. Though these electrical projects are relatively easy for DIYers who understand how circuits operate and are familiar with accepted methods, safety should always come first when dealing with electricity. With that said, replacing old fixtures or sprucing up décor is often simpler than you may think if your systems are somewhat dated yet following approved techniques.
This article will point you in the right direction for a DIY light fixture installation, or maybe you are just wondering why it costs so much to complete a simple task by a professional. What’s more, light fixtures can be an easy and affordable upgrade to light up any area of your home.
It is important to remember that light fixture installation must follow specific instructions. Before starting the project, take stock of what type of light fixture you are looking for and if it will require additional materials or tools. Then, carefully read the light fixture’s instruction manual and follow any safety precautions. Once you have sought the necessary materials and tools, it’s time to get to work!
Can I Install a Ceiling Light Fixture Myself?
Are you wondering whether it's necessary to hire a professional electrician to install lights and light fixtures for your home? Surprisingly, no legal requirements require one; however, if you don't feel confident doing the work yourself—or making changes in electrical equipment—licensed professionals should be consulted. On the other hand, quite easily changing out ceiling lights isn't something that needs special training or licensing.
Do You Need an Electrician to Install a Light Fixture?
Are you in need of lighting installation? If so, it's best to find an electrician experienced with electrical wiring. Trying to do the job yourself can be dangerous if you're unfamiliar with this type of work, and it should be avoided at all costs.
How to Install a Ceiling Light Fixture Project Overview
Transform your dull rooms into something spectacular quickly with new light fixtures. Lighting showrooms and catalogs offer a wide selection of lighting options. Despite some items being complex to set up, they are all user-friendly. Nevertheless, incorrect installation can cause dangerous electric shock if done incorrectly; in this article, we'll demonstrate the simplest procedure for testing wires and connecting them safely!
Step 1 - Turn off the power to the old light fixture
The electrical power must be supplied to your newly installed light fixture. Firstly, you should know where the circuit panel is and flip its switch correctly. Whenever you turn off your lights, you can always tell if there's an appropriate switch in place. Although some panels are insightful by nature, they aren't fail-proof all the time. Not every electrical panel is marked correctly.
Step 2 - Remove the canopy to expose the wiring and light fixture hardware
Installing this replacement is a breeze - simply screw in the rod to securely hold the canopy. Every fixture comes separately and should be fairly simple to install. The canopy is designed with broad, flat coverage that lies flush against your wall while concealing its unsightly wiring and accessories. In some cases, it may only require one screw to keep everything secure - all you need to do if it falls is unplug any existing mechanisms!
Step 3 - Unscrew the wire connectors on the three black wire, white wire, and bare copper wires.
To link your LED lighting fixture, attach the wires using wire connectors to those mounted on the ceiling. Ensure that you have joined each connector properly by matching their colors together. When it's time to take them down, carefully detach these connections one-by-one with precision.
Which wire is a hot wire on a ceiling light fixture?
The black wire is the electric circuit's hot conductor since it carries current from switches and breakers to fixtures such as lights. To balance out the electrical flow, a white wire acts as a neutral, which takes all unused power and directs them back towards breaker panels. Finally, the green wire is the ground (for safety) and should always be connected to the light fixture.
Step 4 - Test for power and disconnect the wires
Before removing the light fixture from the ceiling, check its electrical output with a non-touch voltage gauge. Then, use a wire connector to disconnect it safely and avoid potential hazards. Also, remember that some fixtures have copper wires for grounding themselves against their mounting strap on the case - always be mindful of this when removing them!
Step 5 - Remove the existing light fixture
Your method will depend on your old fixture to take off light fixtures, shades, and globes. It could include securing a screw, disconnecting the mounting clip, or unlatching the glass shade from its base. If you're removing ceiling fixture shades from their ceiling boxes, unscrew them using either their attaching screws or screwed knobs that attach to the ceilings.
A Heavy Light Fixture Requires A Strong Electrical Box
When mounting a ceiling light fixture weighing 25 pounds or more, you must ensure that your electrical box can support the weight. According to the National Electrical Code, an electrical box head usually has a maximum weight limit. To firmly mount it into place, use No.-832 machine screws and nuts with crossed frames (see Mounted by Screws and Screw Nuts). Nearly all ceilings are suitable for this method of installation. Further, secure your lighting fixture's cable onto its solid frame before attaching it to the electrical box; keep in mind that lamps may weigh more than anticipated!
Step 6 - Install the mounting hardware
Generally, a light fixture must be checked first when it has a mounting strap. The bag will have different-sized thread holes for anchor points and ceiling box support. The center of the strap is larger, with treads to screw into the mounting tubing that holds up the lamp. To determine if screws are necessary to secure the lamp surface, install the straps on top of it.
Step 7 - Add a ground wire to a metal Box
To ensure safety, begin by attaching a ground cable to the metal case if absent. Next, wrap an 8-inch piece of plastic around the wire and insert it into an open thread hole. Then twist the wire in a clockwise direction until you reach the green ground screw, which must be securely tied in place as this will provide grounding protection for lighting fixtures with steel or metal parts.
Step 8 - Connect new light fixture wires
As displayed in the photograph, the pre-existing wire descending from the ceiling has smooth edges, while its replacement is fitted with thin silver tips. To establish a connection between them, twist and secure one end of your new black wire around what is already present.
Once done, install an appropriate connector to complete this installation process. Please note that if you're installing a light bulb requiring copper or green wires for usage purposes, these two may be linked either by grounding screws (green) or through ejection from your electric box (copper).
It is essential to follow the instructions of your light fixture thoroughly. If copper strands are in your ceiling, ensure you attach the new strand securely to them for optimal safety and stability.
Step 9 - Bare copper ground wire; connect the ground wires
When it comes to ceiling lights, the type and size of your fixture and box will determine how you should connect ground wires. It is essential that there are metal pathways in place for a safe electrical circuit. If your ceiling has plastic, simply attach the cable's ground lead to the light fixture before plugging it into an electric circuit connection. Should you have a metal boxed ceiling, however, this box and its corresponding light fixture must be connected with proper grounding connections first - only then can they be linked up with their respective circuits.
Test for Ground
Homeowners can utilize a neon voltage tester to check if the circuit is working correctly by connecting it between the wire and metal box. If no light appears, you should contact an electrician immediately for further assistance. To ensure safety, make sure to turn off all electricity before carrying out any repairs or modifications. Taking these five steps will help lead your way toward new beginnings!
Step 10 - Turn the power back on and enjoy the light
Now that your light fixture has been installed, the power should be switched back on and tested before replacing the light bulbs. Check to make sure all wiring is securely fastened, then switch off the light switch. Appreciate that you have successfully installed a light fixture yourself! A new light can smooth out an area quickly and easily
Step 11 - Test with the light switch
Before attempting to work on any light fixtures, you must turn off the power to the electrical circuit at your breaker. After achieving this step, you may safely switch on the fixture and start installing or repairing it. Additionally, always check for voltage using a detector before proceeding further!
If you've followed all the necessary steps, congratulations - your room is now illuminated with a new light fixture! Installing ceiling fixtures is an easy DIY project that will bring forth a sense of pride and satisfaction. All it takes are the right tools and knowledge for this task to be successful. So go ahead and bathe your space in style - good luck!
Not Sure A DIY Light Fixture Change Works For You?
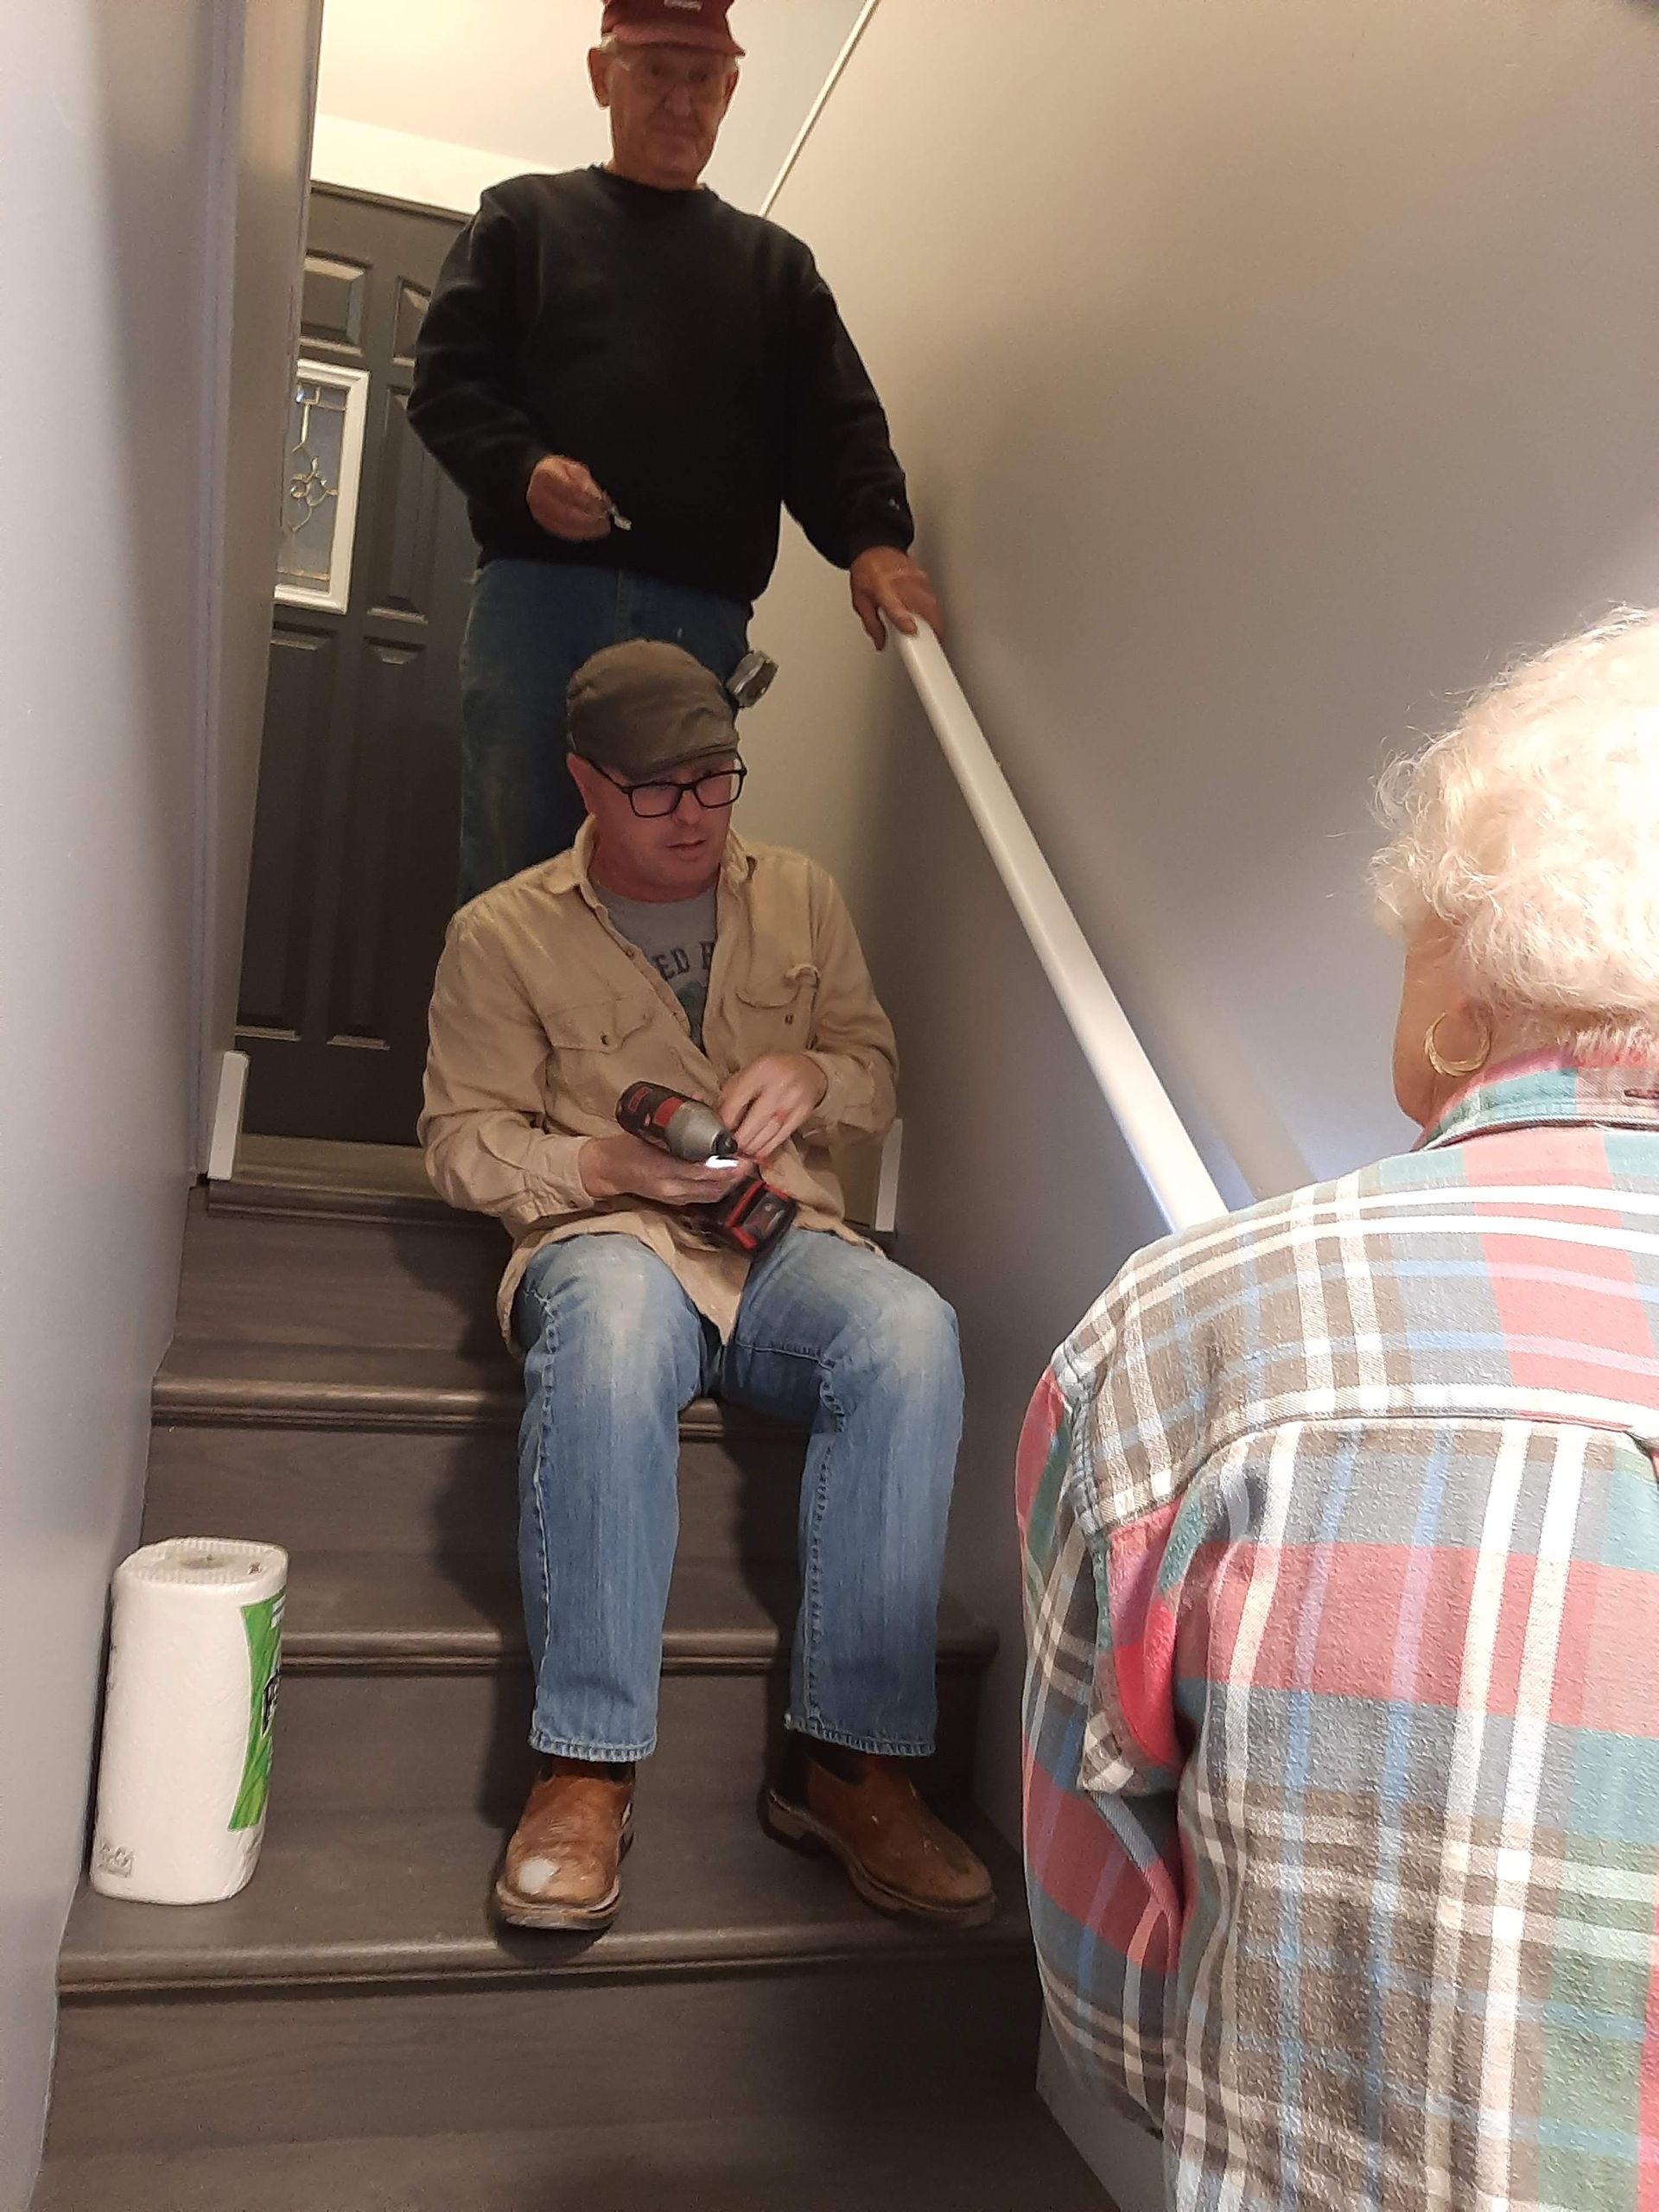
If light changes are more than you feel comfortable tackling, call an electrician for help. Electricians can safely assess your ceiling light fixture and know how to install light fixtures on a ceiling correctly. It may be worth it for safety and peace of mind down the road - don’t risk electrocution! The small fee to hire a professional electrician can save you time and stress in the long run. With safety as a priority, light fixture changing is a task best left to the professionals. Need help? Connect with an experienced electrician today! Keep your home safe and find light fixtures that reflect your style - have fun!
How much does it cost to install a light in the ceiling?
The cost of light fixture installation depends on the type of light and the number of light fixtures installed. In general, installing light fixtures usually costs between $150 and $400 or more, depending on the complexity and time required for the job. Always consult with an experienced electrician to better understand your specific light installation needs.
In conclusion, light fixture installation is a common project that can help improve the look and feel of any space. With safety as a priority, switch off all electricity before proceeding with light changes. While DIYers can do light fixture changes, it is always advised to consult a professional electrician for complex electrical repairs or modifications. With the right tools and knowledge, light fixtures can easily be changed within just a few minutes - good luck! Keep your home safe and find light fixtures aligned with your vision - have fun!
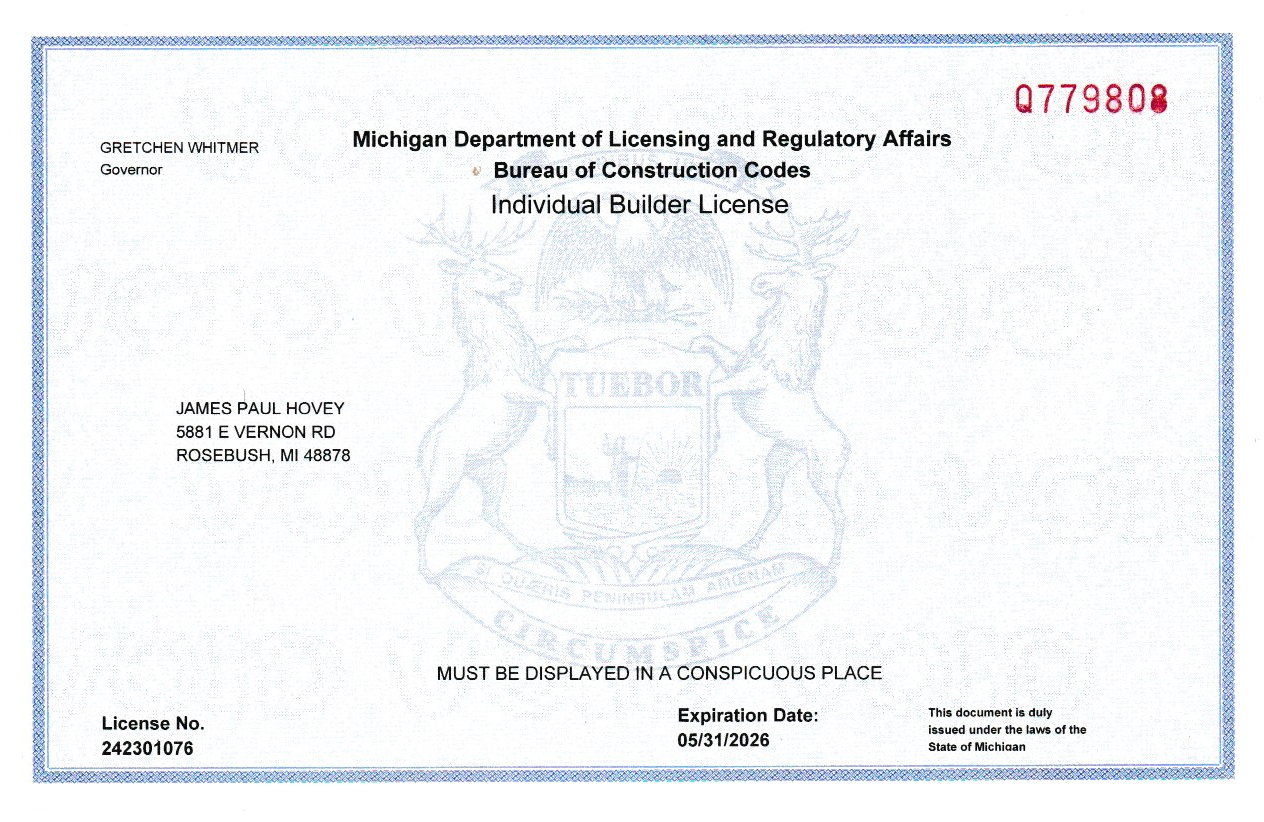
Mister Remodel Has A Master Electrician On Staff
At Mister Remodel, we are proud to have a master electrician on call who is experienced and certified in all types of light fixture installations. We also specialize in energy efficient lighting and lighting design making sure that your installation looks good, gives off enough light and will operate efficiently.
Our team will be happy to provide you with a free 15-minute phone consultation to discuss your options and determine the best solutions for your project. With our expertise and reliable customer service, you can be confident that the job will be done right and on budget. Call or email us today to get started! We look forward to helping you bring your dream lighting project to life.


5881 E. Vernon Rd. ,
Rosebush, MI 48878
United States